A short review about the MSR HubbaHubba NX which we used on the Te Araroa trail
Our home away from home is the HubbaHubba NX by MSR. It has been used by many, many long distance hikers and there are bunches of reviews about it. Nevertheless we want to add a few words, on why we bought it and why we found it to be the perfect tent for us on our trip on the Te Araroa.
Our criteria for chosing a tent
We read A LOT of reviews about tents before chosing one. The HubbaHubba was the first item of gear we bought for our trail, since we wanted to test it thoroughly in our treks on the Soonwaldsteig and Albsteig.
The main points we looked at to make a decision were the following:
- Freestanding:
Can the tent be setup without staking it out? Does it have regular tent poles or is the tent setup with trekking poles?
We weren't exactly sure what kind we wanted, but prefered the freestanding tents because they can be set up anywhere without relying on the guylines. - Tent, Tarp or Tarptent:
Does the tent have multiple layers and a closed inner tent to protect agains flies, or is it open?
We had no experiences with tarps so far, so we prefered full double layered tents to tarps, as we didn't have the time to experiment which worked better for us. Also we had read a lot of repots about the mean sandflies in New Zealand and really wanted a mesh tent to protect us. - Layout and Space inside:
How well does Tim fit inside comfortably at more than 1.90m tall? Can we sit up inside on a rainy day?
We expected rainy days during our hike and wanted to be sure to be able to spent a bit of time in the tent without feeling caged in. So we were looking for a tent that would allow Tim to sit up comfortably. Due to Tim's height we also needed a large enough footprint for him to sleep without touching the tent walls on both sides. - Apsis:
Does the tent have "dry" room outside the main compartment to store luggage and shoes?
Since the footprints of the tents are usually small, we definitely wanted space to store our backpacks out of the rain, but also outside the tent. - Weight
How heavy is the tent compared to others? How to the materials chosen influence that and are we willing to carry the extra weight.
We were looking for tents with a maximum weight of about 2kg. - Price
Our budget for the tent was about 600€. If we had found a more expesive tent that we absolutely loved, we would have been willing to spend the money, but that was our main guideline when we started out. - Availablility (in Germany)
A lot of tents aren't permanently available in Germany and often sold out. This was a main factor because we didn't really want to ship the tent from another country.
Some basic specs about the HubbaHubba:
Footprint: 127cm x 213cm
Height: 100cm
Apsis: 2 x 76cm
Weight: 1720g (Tent Body) + 180g (Stakes + Guylines)
Packed Size: 46 x 15 cm
Materials:
Outer Tent: 20D Ripstop Nylon
Inner Tent: 20D Ripstop Nylon; 15D Micro-Mesh Nylon
Tent Floor: 30D Ripstop Nylon
Entrances: 2
Price on discount in Germany at the time was about 330€, which was below our budget.
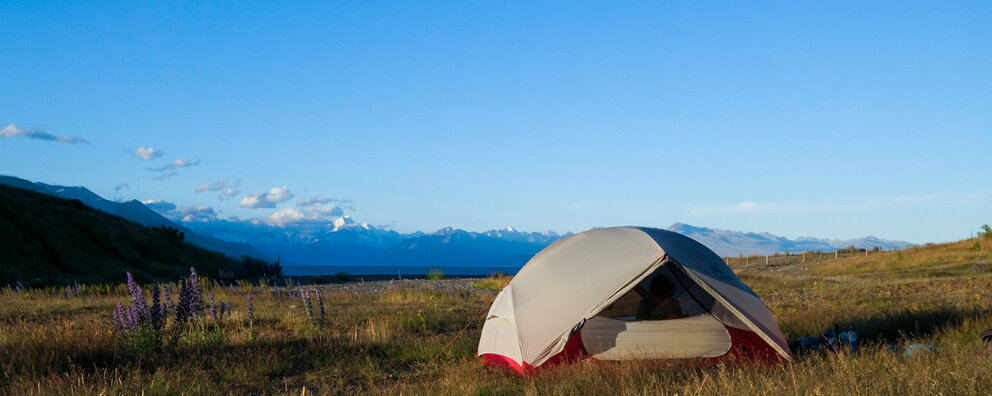
Structure & Setup
The HubbaHubba NX is a pretty basic dome tent. Its footprint is rectangular, the main shape almost hexagonal, with the apsides sticking out to both sides.
It is setup with a single connected tentpole, that splits into Vs on both short sides of the tent and has an additional cross-piece at the middle of the tent to provide more headspace inside.
The tent can normally only be setup inside-out. So first the inner tent has to be set up, then the outer shell can be added.
First the mesh inner tent with the tent floor is spread out. Then the tent pole is unfolded and clicks together almost by itself. The poles are put into the eyelets. The outer shell of the tent is color-coded with red and respectively gray fabric strips to make sure the shell is put on in the right direction. After pulling the outer sheet over it's just a matter of attaching a few more eyelets and staking out the guylines.
Done.
In case of rain the inner tent first setup is not optimal. With a special footprint that is sold separately, the poles can be setup without the inner tent, and therefore the inner tent could be set up inside the "dry" outer shell. We made ourselves an own footprint out of polycryo plastic foil and some rope. That allowed us to also set up the tent outside first.
Durability
The materials of the tent are lightweight and therefore mostly pretty thin. We were a bit worried about the 30D Nylon tent floor, and also wether the poles and guylines could take a beating in harsh winds.
We exchanged some of the thin "Needle"-Style tent stakes that came with the tent for MSR Groundhog tent stakes. Neither of both types showed much wear and tear after using them regularly.
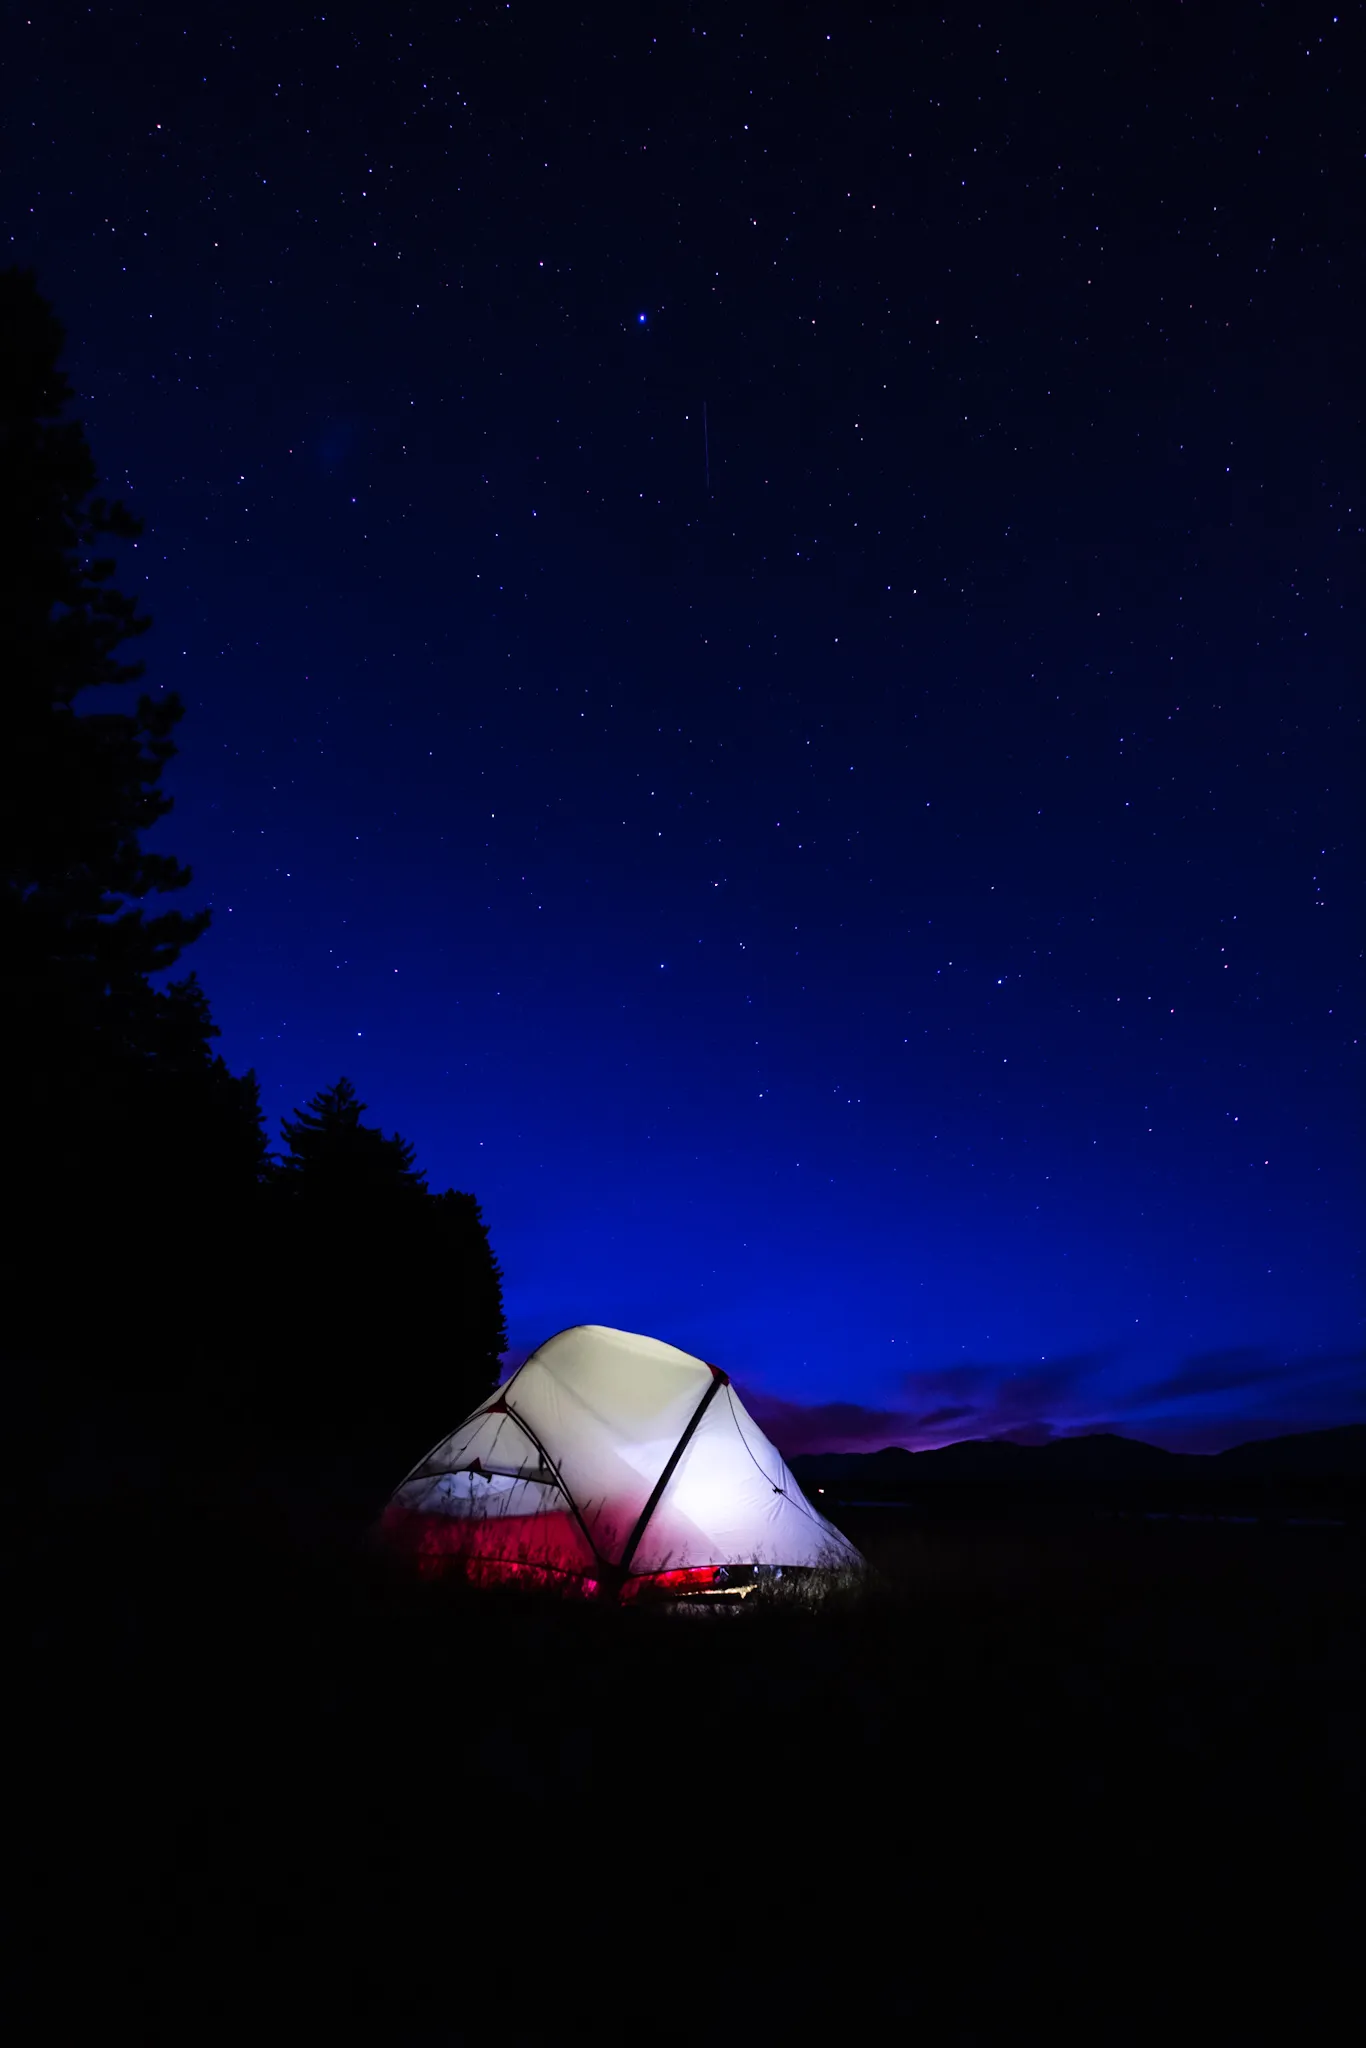
During our three months in New Zealand, of which we spent almost a third in the tent after all, we had no trouble at all with the durability of the tent. And the tent did take quite a beating. We spent a few very stormy nights inside it, when the tent was pressed flat almost to our faces, and the packed tent inside it's bag got caught in quite a few thorny thickets. In the three months that we used it on our walks, we had only one tiny hole in the outer tent, that we taped with a small duck tape rectangle.
*Advertisement information
We chose and bought the pack by our own decision, we were not paid to write this review. Our review reflects our personal experiences with the MSR HubbaHubba to help others find out if this tent is right for them.
Leave a comment